


Seed Sowing Tips
amongst exciting Dahlia anticipation

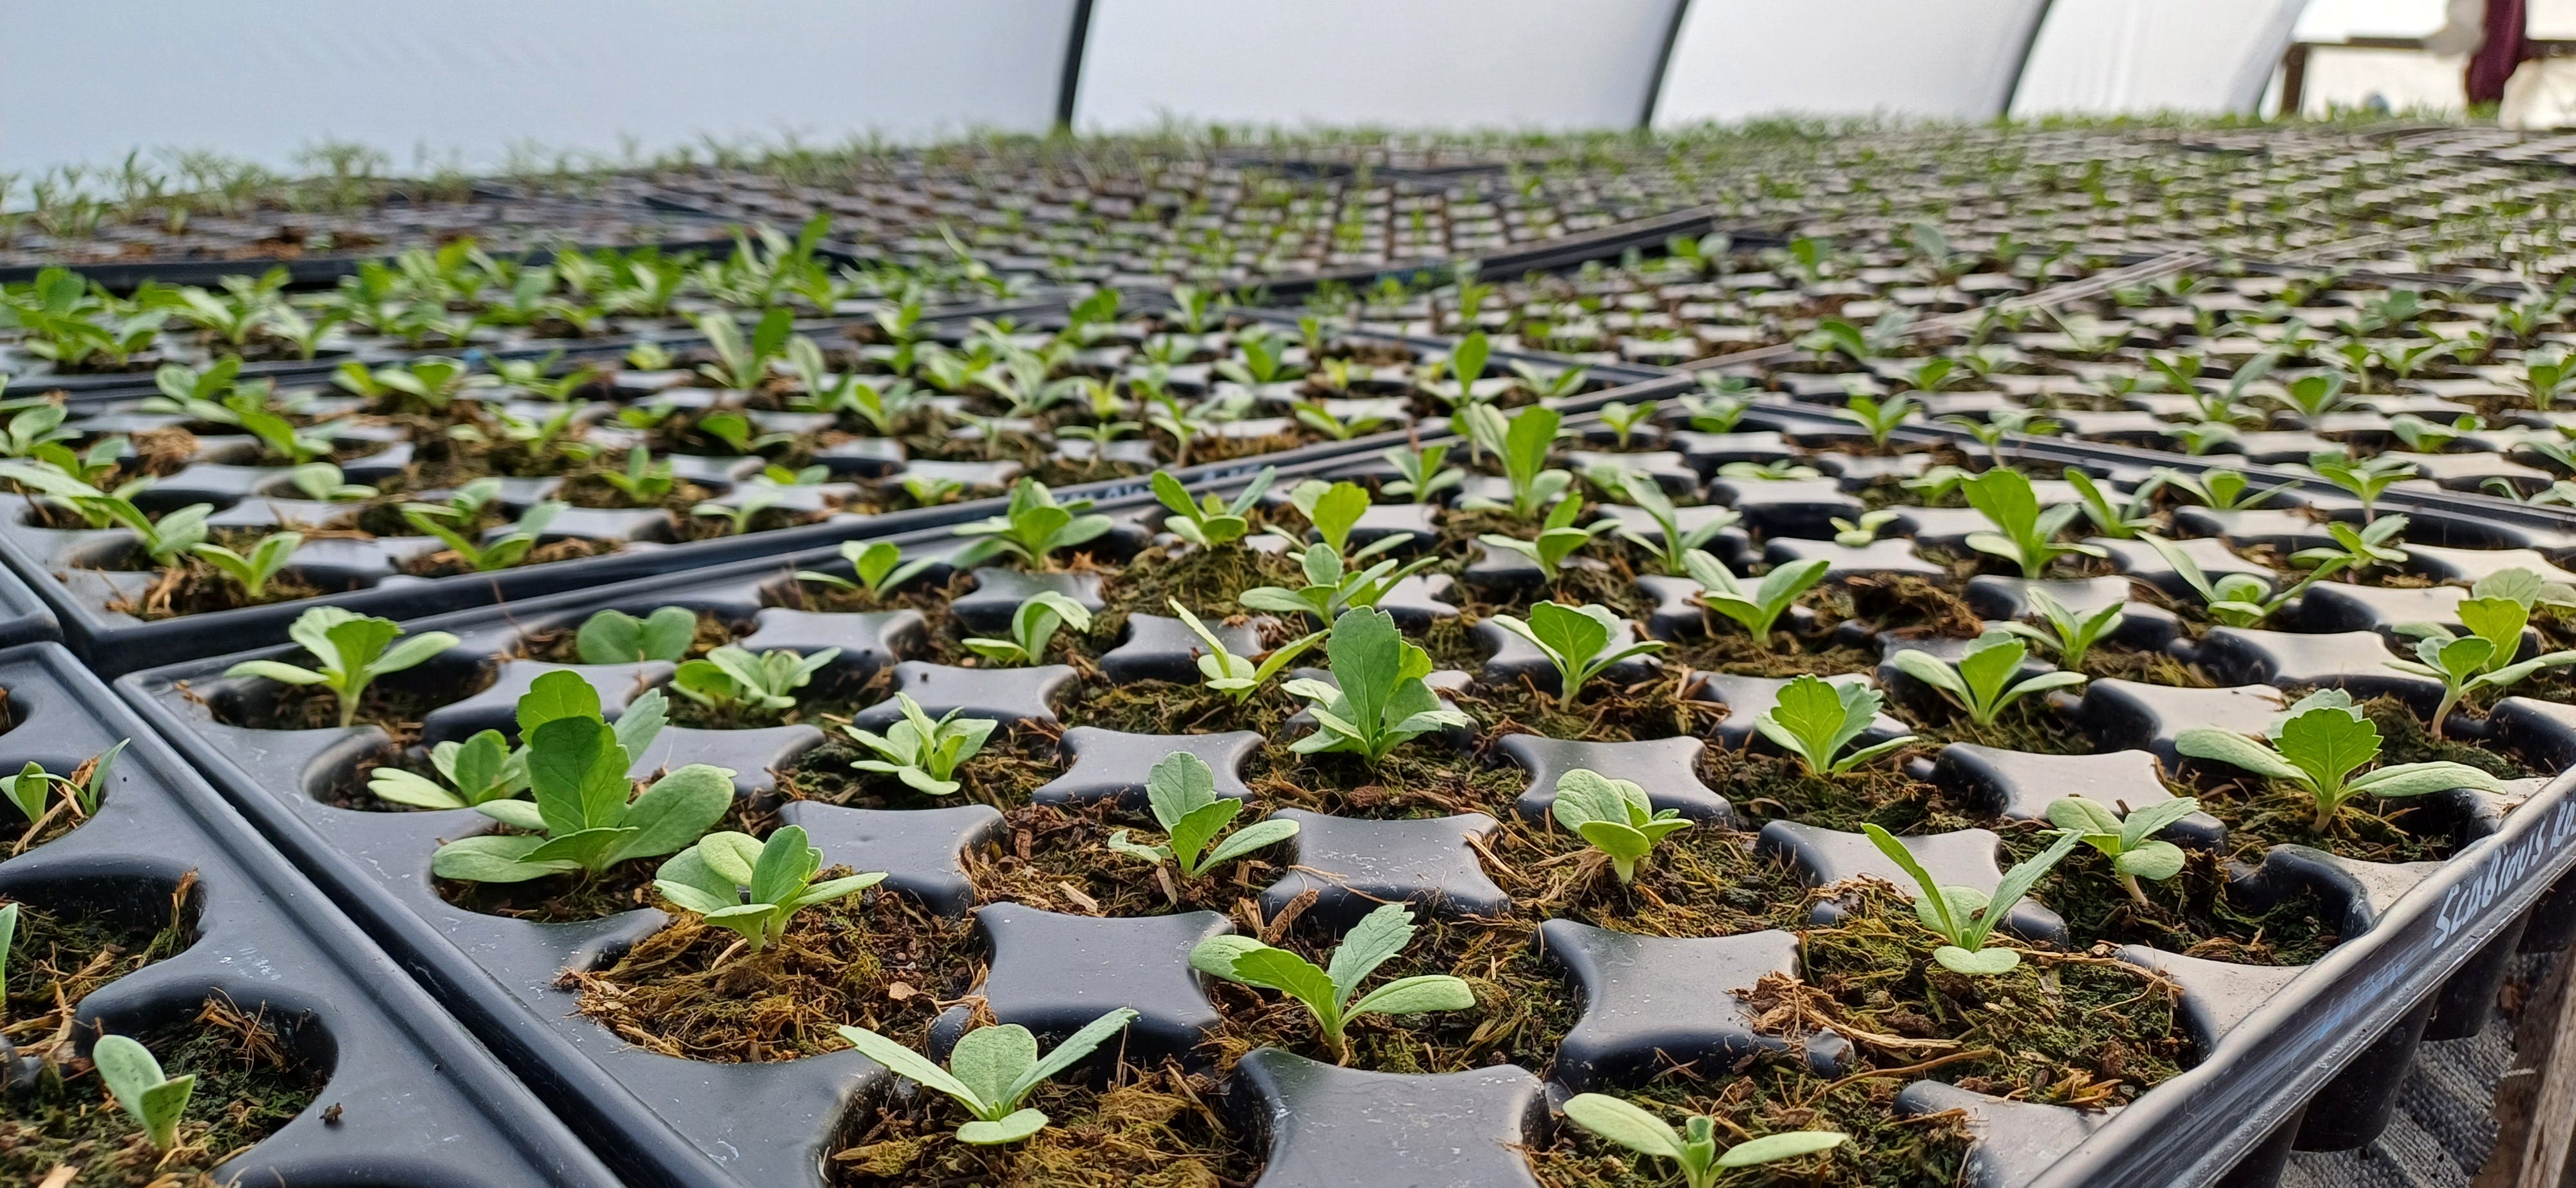
The 1st of March marks the meteorological start to Spring, today the sun rose at 6.50am and won’t set until 5.40pm and from here on into the season it will be heads down seed packets out and trowels at the ready. There is something unique about gardening and growing, whether you do it as a hobby or as a profession, once you’ve been gripped by the delicacy of sprinkling the tiny seeds on to damp compost, and the wonder of the little green shoots emerging. We as growers all share the unrivalled excitement that Spring brings, coupled with the pressures of a very busy few months of making sure we get everything sown and germinated in time.
I began sowing tentatively in mid February, but March is the month it kicks off. To make sense of the masses of sowings ahead, I have over the years sorted varieties into germinating groups, this helps me organise my time, space and hopefully for the best germination results. It doesn’t matter what scale you are growing on, I believe these sowing principles remain useful. We will tackle them individually this month and await some great germination.
Firstly, we will begin with a group I touched on in my February article, the COLD GERMINATORS. These consist of the seeds that require a period of cold and then quite enjoy the temperature fluctuations of day to night highs and lows of early Spring. I find the best germination occurs if these seeds are spritzed with water and placed in the fridge for 2 weeks before sowing.
Varieties included in this group: Larkspur, Buplurum, Molucella, Sweet Peas and Poppies
Now I move onto the DARK GERMINATORS as a few of these varieties fall into the above category as well. These are seeds that germinate better in the dark, the seeds tend to be larger and they like to be sown benith a 3mm sprickeling of 50/50 compost and vermiculite, added to this I find that placing a layer of cardboard on the top of the seed tray helps them begin to poke through the compost quicker. Cardboard is good for this process, particularly in early spring as it acts as an insulator. This method requires near constant monitoring as once there are signs of germination the cardboard needs to be removed to prevent the stems straining.
Varieties included in this group: Larkspur, Scabious, Cynoglossum, annual phlox, sweet peas.
Next up are the tiny seeds and the LIGHT GERMINATORS, It is pretty simple when you consider it, tiny little seeds don’t germinate well if buried too deeply, they all do best if surface or near-surface sown. The key thing with these seeds is to be very careful you don’t accidentally wash them away!, never is pre-watering your trays more important than when sowing tiny seeds. I dread to think of all of the expensive Anthirrhinum and Poppy seeds that are now in cracks of the floor under potting benches, as people presume they have been unsuccessful with germination, without realising it is likely because they have washed it from the surface of a seed tray. When you sow these tiny seeds do make sure you tamp them onto the surface so they are in contact with compost and then sprinkle vermiculite over the seed.
Varieties in this group include: Poppies, Anthirhinum, Ammi, & Clarkia
Finally, the DO NOT DISTURB GROUP, these are the seeds and plants that don’t like a lot of fussing around with. I sow nearly all my seeds into module trays, but if you normally sow your seeds in a sprinkle and then prick them out, these are the seeds that you need to be incredibly careful with as they are sensitive souls, they normally say on the seed packet sow where they are to flower. That is because seed companies know only too well if you get a heavy-handed over-enthusiastic grower digging about at the roots of these seedlings to pot them on, many of those seedlings will simply snub the shoving about and die.
Varieties in this group include: Nigella, Daucus and Poppies
You will note there is crossover with the varieties, and if a plant falls in none of the above, the likelihood is it will be unfussy. What i’ve found over the years is as long as the compost is good, you use some common sense, the temperature is around 18-20 Degrees and the seed is fresh most things will germinate and if it doesn’t try it again sown differently, not all seeds like the same style of sowing.
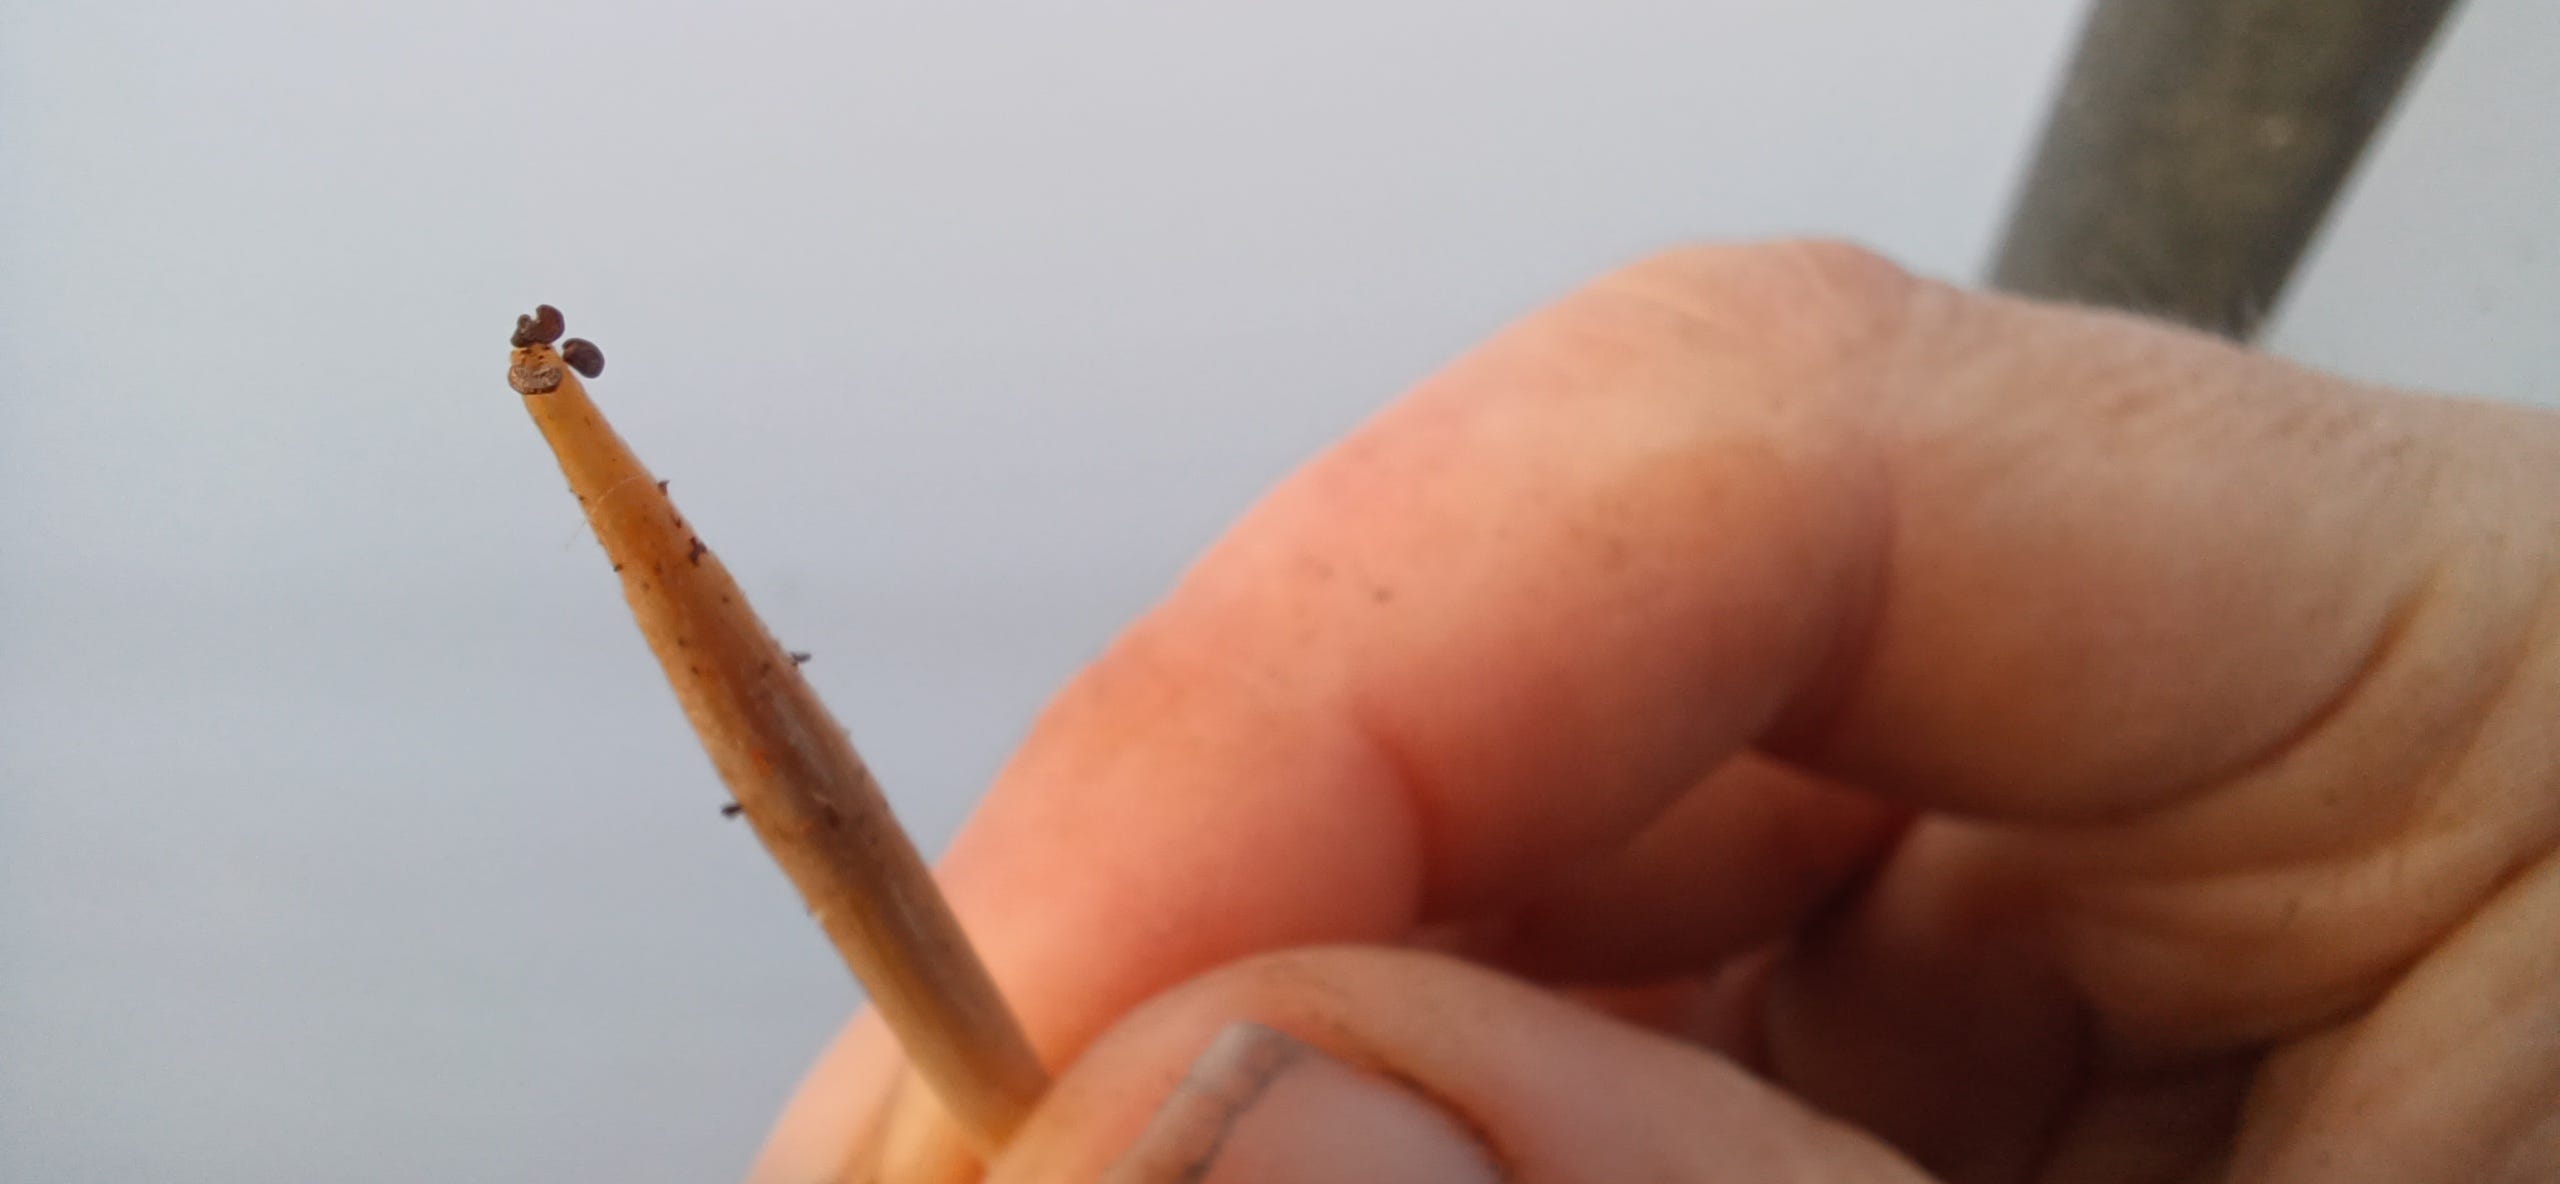
This now brings me onto a very exciting delivery I received this week of some Dahlia seed from Phillipa at Just Dahlias in Cheshire, I am very excited to be growing seed from some of Phillipa’s Dahlias this year. This seed has been open pollinated, so it means it will be crossed, whilst maybe hanging onto some of the attributes of the parent flower, this means the flowers will all be unique surprises.
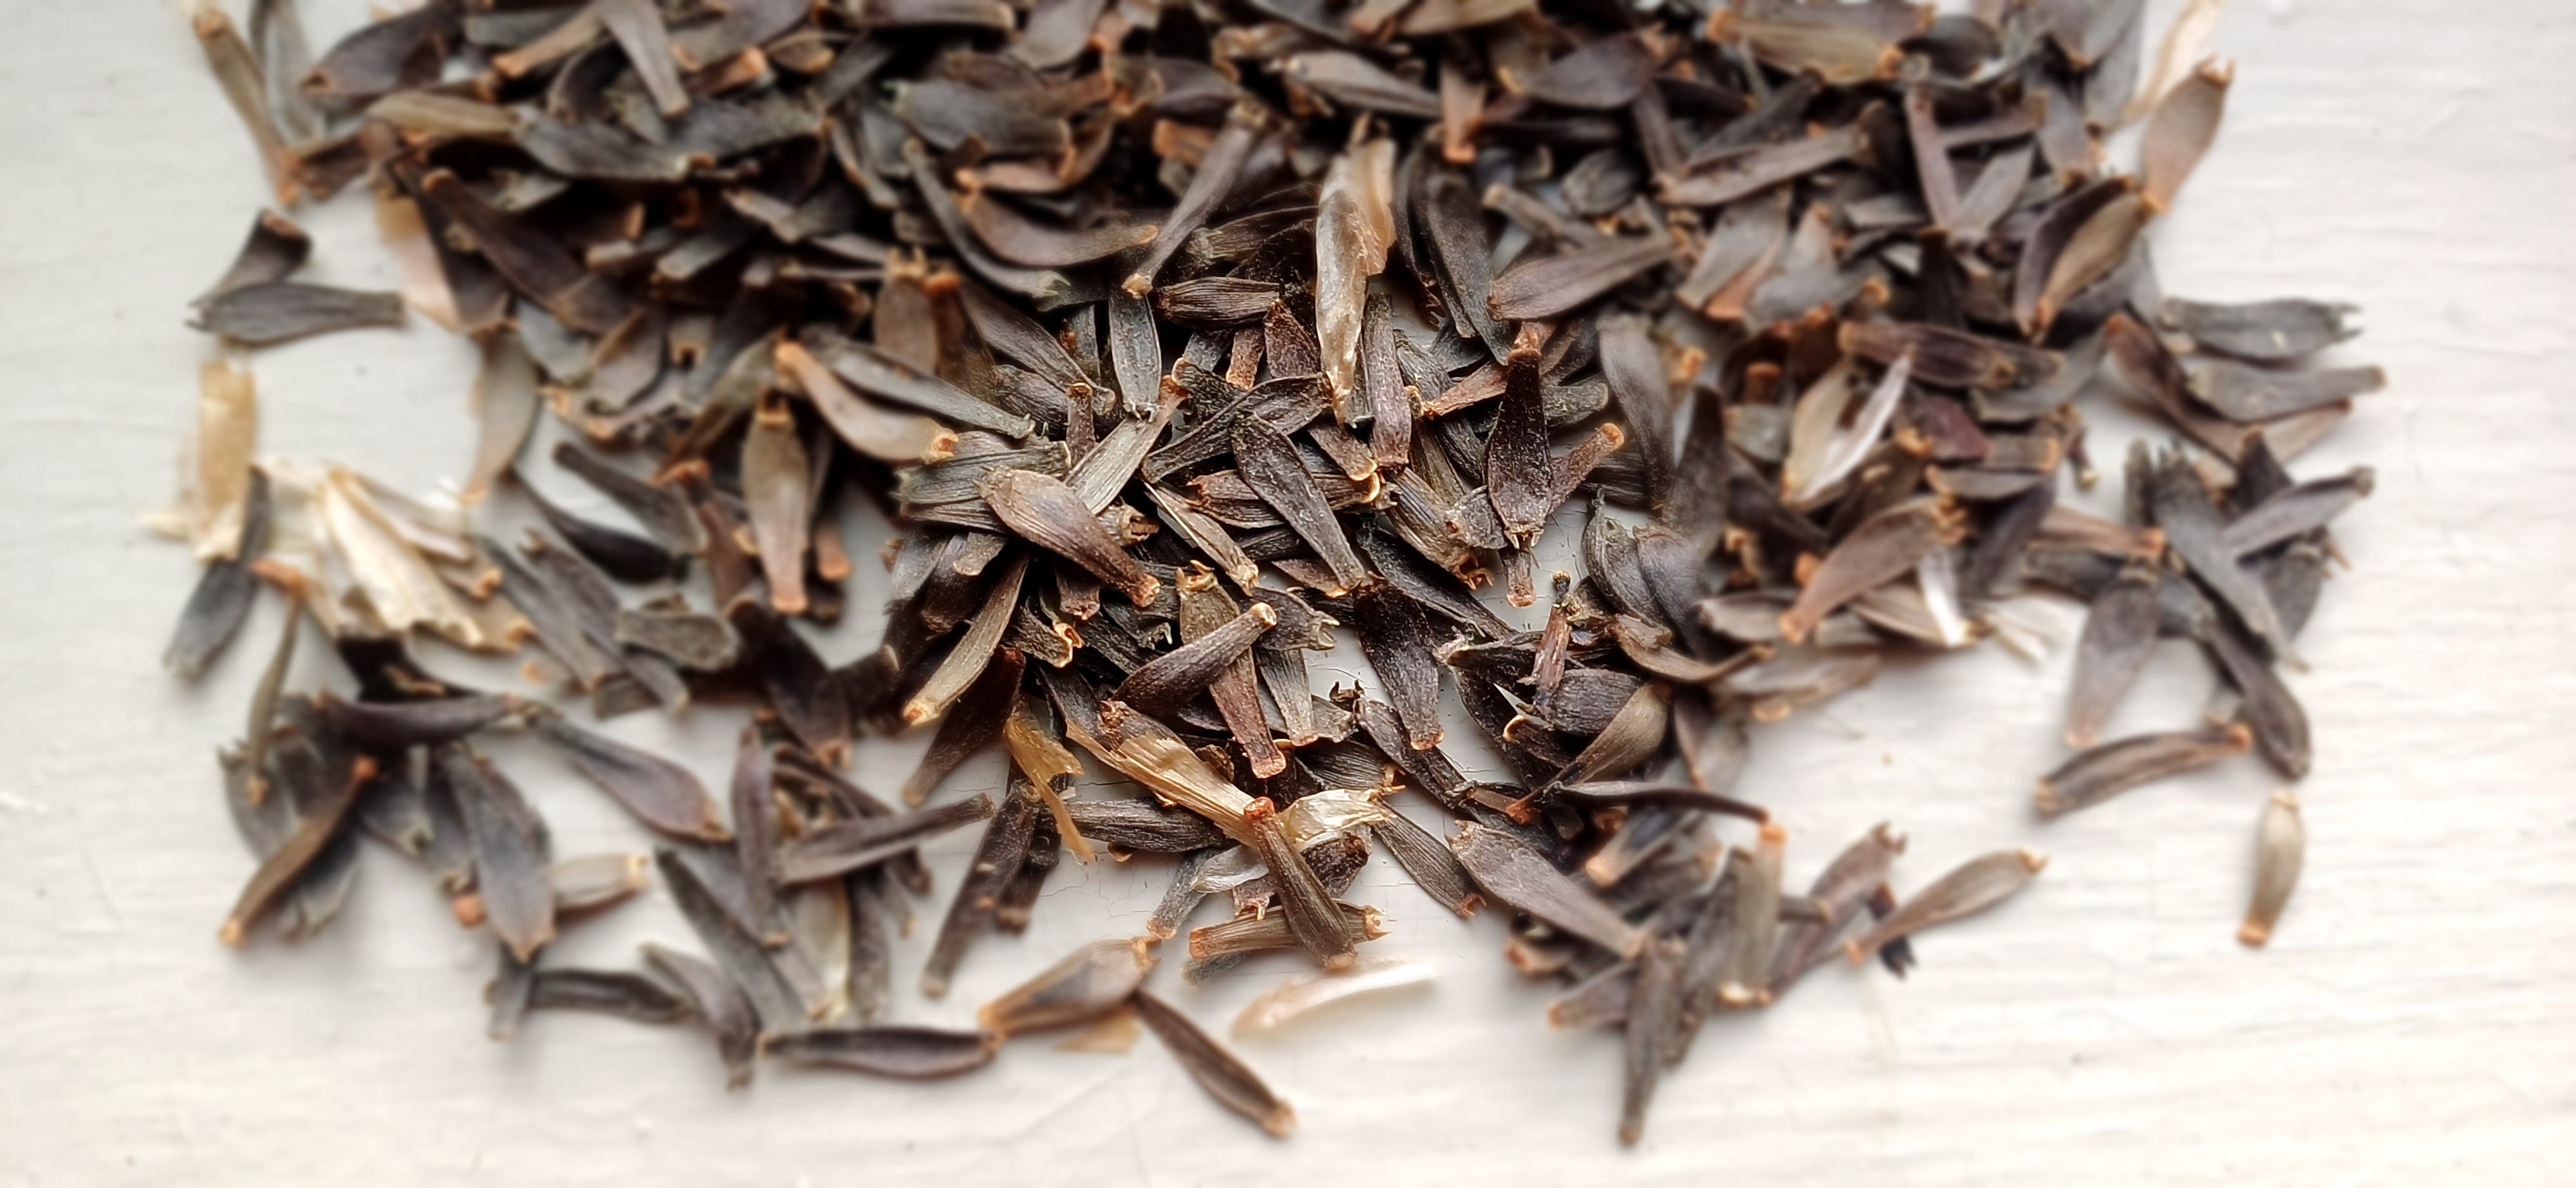
It is normal to see dahlias grown from Tubers as that is the way you know what the flowers will look like as you are growing from that stock plant, not a child produced by it. This year I am growing from both tubers and seeds for the first time. Both methods will produce an abundance of flowers in Mid to late summer. I have my tubers all potted up and starting to sprout on a heat mat, and next week I will be sowing hundreds of Dahlia seeds for summer surprises, here is a sneak peek at the 3 parent Dahlias that have been bred by Just Dahlias that this very special seed has been harvested from.


Photos Courtesy of Just Dahlias
Added to my huge list of sowing and propagation this month, we also have the matting to remove from this year’s growing area, a new cutting patch to lay out, a load of shrubs and perennials to replant and thousands of annuals to get in the ground. Next month I will have some major progress changes to share with you from the field. For now I wish you all a happy start to your Spring Sowing and Growing.
Suzie x
Ps What do you reckon to the digital art? its something I got into over winter
Right! You’ve galvanised me to kick off my season and head to the greenhouse! I’m quite excited!
I did the growing dahlias from seed last year and it was enormous fun.
A tip for you in return. I germinated and planted literally hundreds of seeds and planted them in blocks only 4 to 6 inches apart. I corralled them for support with posts and thick jute twine. I didn’t pinch them because the aim was to see what they looked like. They will all be beautiful of course but you will only want to keep some. This way in their first year it will allow you to grow more in a smaller space. I got hundreds of flowers for picking and decent tubers on the keepers for this year to be planted properly. Honestly I got so much joy from seeing the variety of different flowers popping up and this method allowed me to go wild with the numbers. The bees absolutely went bnonkers for them which was a huge bonus too!
Love the art and the post and information as ever lots of tips.
One question if you don’t mind. How do you prevent fungus gnats with all your growing? Every year overwinter I seem to lose so many plants to them in my greenhouse from the larvae eating the roots.